
Knitting Texture.
Hi everyone! A lot of people have been asking me to share how I make a knitted texture when I colour with pencils so I thought I would do a quick photo demo that should be easy to follow.
If you would like the Knitted Cat digi that I have used you can find it in my etsy shop here:LINK TO THE SHOP! Knitted Kitty is $1, or approx 95p!
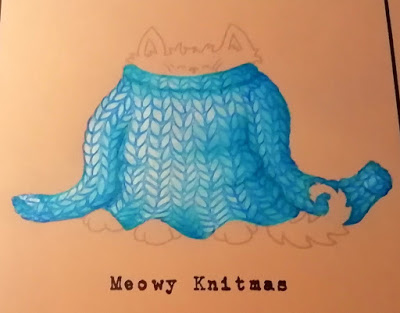
I made a topper for my card on the computer. When I added the digi I made it much paler than normal so the lines are less obvious when I colour it. I also added a greeting in Carbon Type Font.
I printed my topper out onto kraft card. My topper is 14 cm x 14 cm.
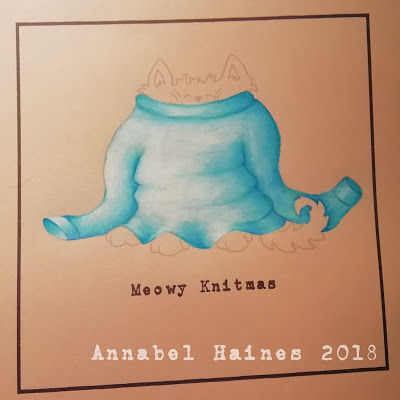
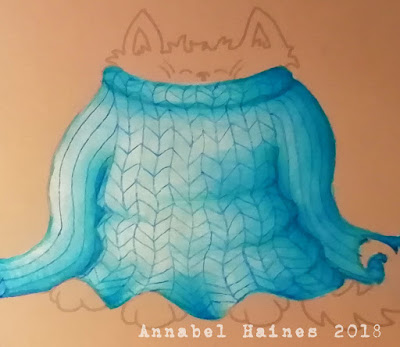
I then coloured in the jumper. I used four pencils for this -101 – White 110 – Phthalo Blue 154 – Light Cobalt Turquoise 156 – Cobalt Green
Any colours could be used, following the formula of white, then a light, medium and dark shade of the same colour. I chose a light source coming in from the left and added shading according to that.
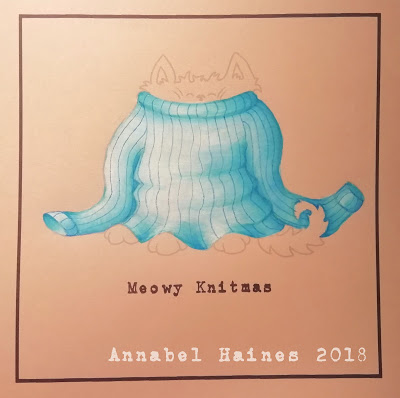
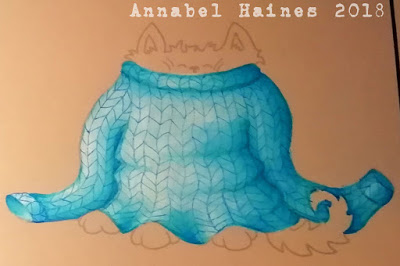
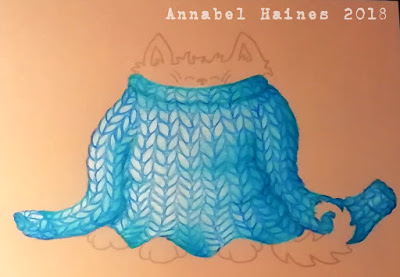
Next I draw lines down the jumper, effectively adding stripes. I keep my pencil sharp. With my darkest colour (No.156.) I follow the shapes I made when I coloured the jumper, so bulge the line when the material bulges, dip it in when there is a crease. I could also break the line when there is a sharp fold in the material and continue slightly offset from the original line.

I carried on down the sleeves too. Just like on a knitting pattern, there is seam on the jumper and my lines can restart at that point. I have a seam on the shoulders of the jumper, and restarted my sleeve lines from there.
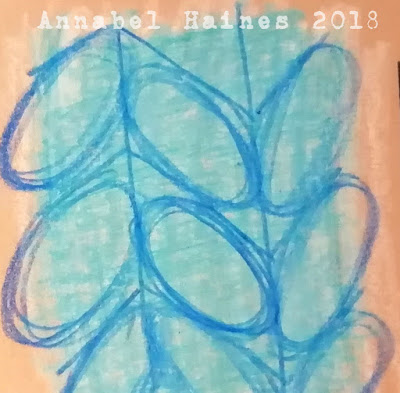
Now a bit of a zoom in. Still using No 156 and still with a nice sharp point I added diagonal lines between each vertical stripe, changing the direction of the diagonal on the next stripe but making sure they meet up.
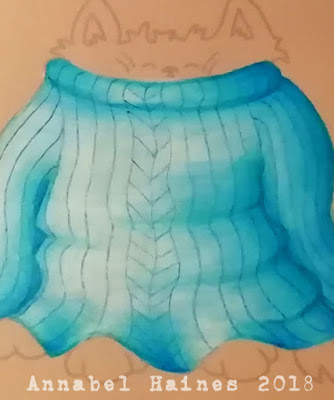
I did this all over the body, trying to follow my pattern as best I could and not getting stressed if some bits were slightly wonky, lol. I have in the past also done the diagonals as a zig zag line horizontally, rather than down each column, but I find it’s easier going a bit slower and moving vertically.
Now I add in on the sleeves, cuffs and roll neck.
When the jumper is covered I go back to each “stitch” and round off the edges. I am still using 156. I pretty much scribble a rice shape into each stitch. I go round a few times for each stitch, in a scribbly fashion, I don’t worry about being too neat. I have tried doing it very carefully and slowly and filled all the gaps, but I don’t think it’s worth the labour. I just scribble all those round bits in! If there is only part of a stitch showing, I just scribble in a “u” or an “n” shape.
I started doing this on the body first, relatively roughly and quickly, with a sharp pencil.
Until I had done it all over. I also added a bit of stitch detail on the inside of the cuffs.
I then go in with a white pencil and highlight a few stitches in places where the light would catch, so on the left hand side on the sleeve and left hand chest area. It’s not a huge difference in this colour scheme but on other colours it can add a lot of dimension.

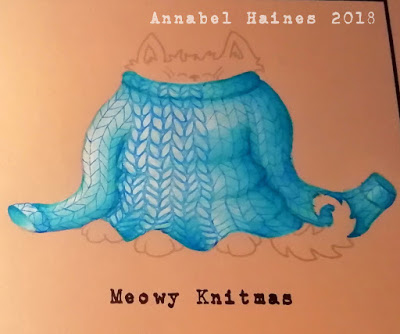
Next I pop in with a darker shade than my knitting shades, I used 151. I add a bit of darker colour to the lines I have made in the shadier sections of the jumper. It’s not a huge difference, but once again adds a bit of dimension.
Jumper finished! Finally can now colour in the kitty. I am doing the kitty after the jumper because I want some of the kitties hair to go OVER the jumper, not the other way round!
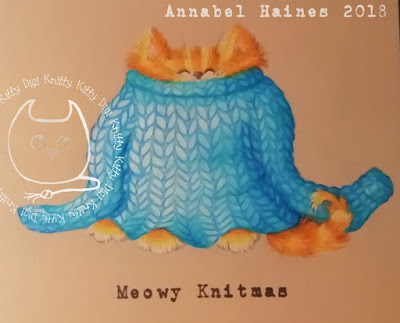
Kitty done too! Now onto making it into a card!
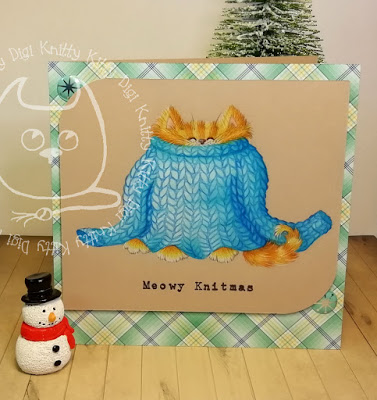
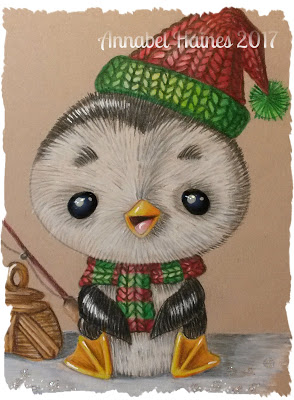
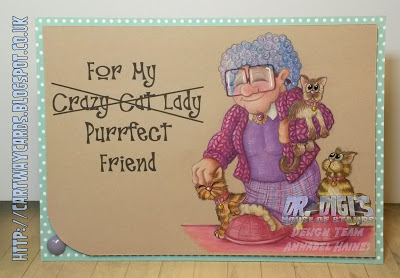
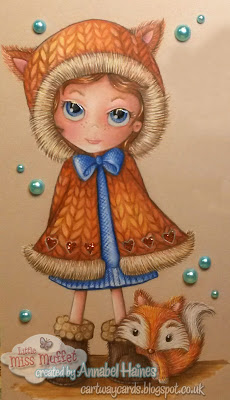
Hope you enjoyed the process and I hope you feel like having a go yourself. I have reduced the price of this digistamp if you would like to have a go with her but you can add knitting texture to any digi where there is a spot to squeeze it in! Here are a images of projects where I have used it (Click the picture to visit the blog page) –


Thanks for popping in! 😀 Any questions? Please feel free to comment on this page, or do me an email? I am eekbob1@hotmail.com
