
Am thrilled to have some cards in Making Cards Magazine this quarter!
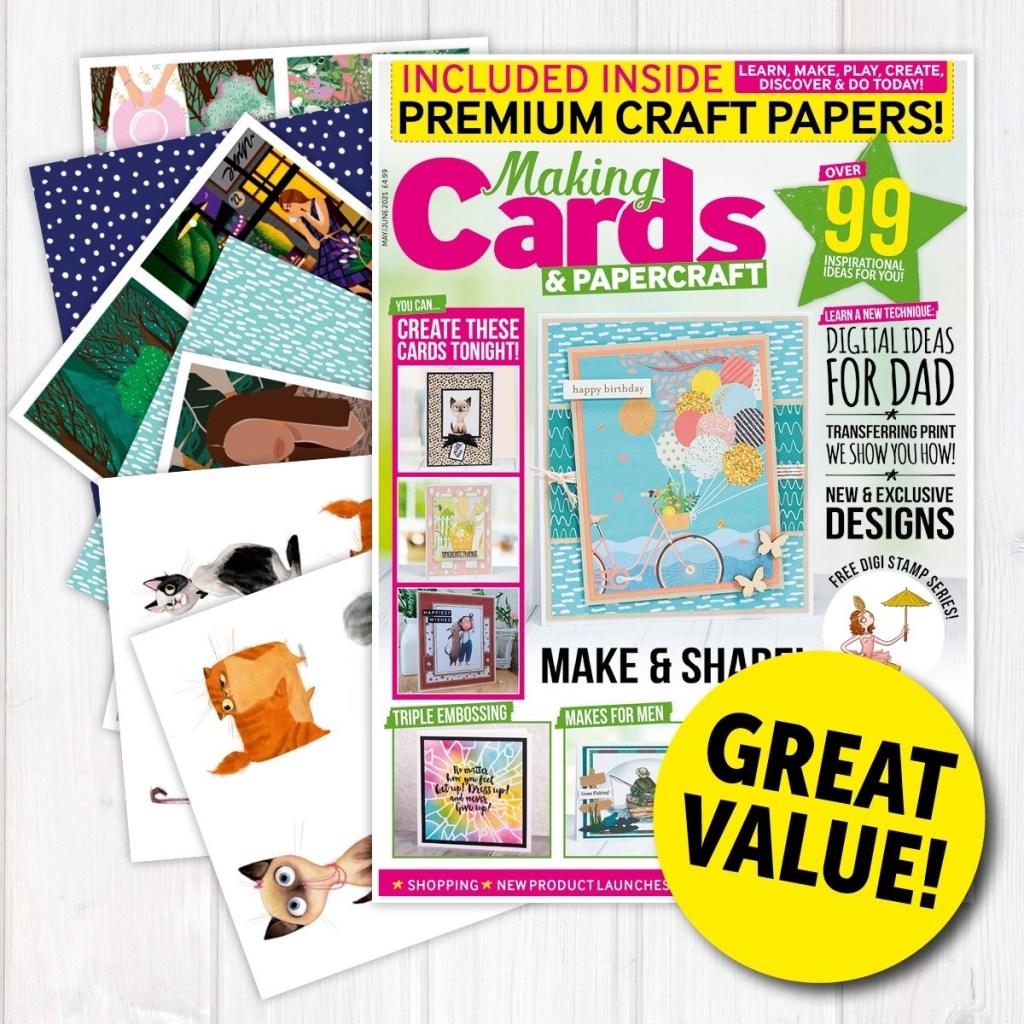
I made three cards using the Dad Set from Dr.Digi’s House of Cards! You get £29.50 ‘s worth of digital products for just £15! So many combos in it for “Men’s” cards as well as Father’s Day!

Here is the first card I made from the set –

And here is the recipe for making it –
Base: Resize and crop green Moustache Backing Paper on PC to make a 15 cm x 20cm rectangle. Add black border to top, right and bottom side, leave left hand side without border.
Print rectangle onto 300 gsm white card and cut along black borders. Score the fourth borderless edge, leave 3 cm white strip just on that side and fold over forming flap. This makes the front of card blank. Cut another piece 15 cm x 20cm of plain 300gsm card to form card back. Tape/Glue together using the 3cm tab. (If you have edge to edge printing you could just print rectangle on one end of an A4 card and then fold in half to make blank.)

Topper: On the PC make a topper image (13cm x 18cm) using World’s Best Dad digistamp and sentiment from Father’s Day Sentiments Sheet. Resize elements to fit.
Make digistamp paler.
Add a border on the topper before printing to make it easy to cut out straight.
Print out topper directly onto Smooth Kraft Card. Also print on the same A4 sheet the digistamp once again, at full strength to use as a guide when you colour.
Colouring: Colour in World’s Best Dad with Faber-Castell Polychromo Pencils. (My pencil choices are listed below, but obviously you could colour him in any colours!)
Add highlights on glasses and nose using White (0.7 mm) Paint Pen.
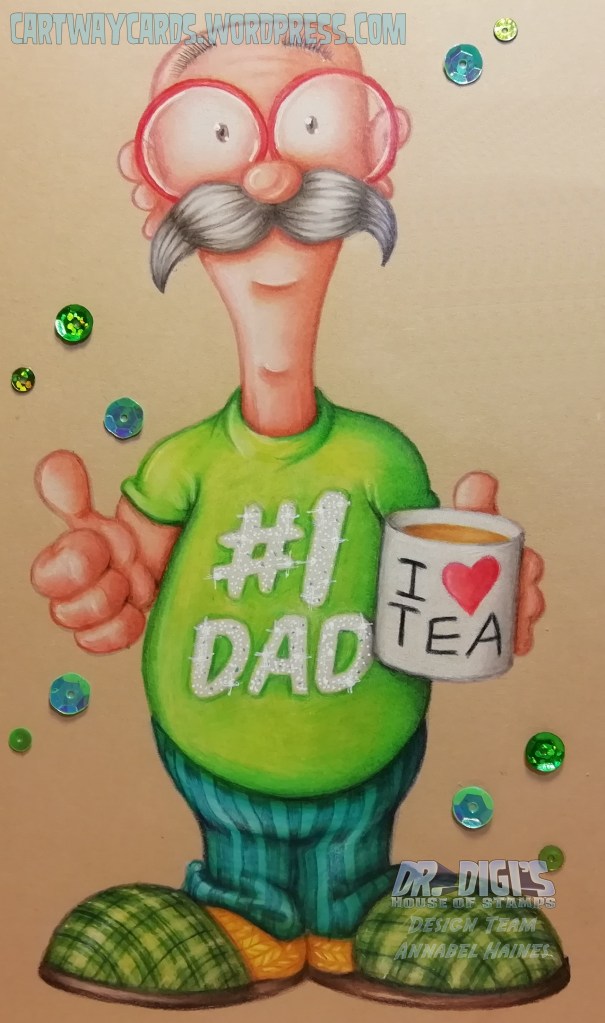
Sparkle – Colour slogan on T-shirt with white pencil and a little grey near mug. Then add small white spots all over using fine paint pen or gel pen. Then add a few spots of green as if reflecting the T-shirt colour. Make a few “+” shapes at random using gel pen. In the centre of each of these crosses use a paint pen to make slightly larger spots. ( I will be making a video of this technique soon, it’s so easy, but maybe a demo will help!)
Final phase – Clean up any smudges and pencil dust around your image using an eraser. Cut out Topper. Using 3D foam place topper onto card. Add Green sequins to finish.
The pencils I used for this:
Skin: 101, 130, 132, 177, 190
Moustache: 101, 199, 230, 274
Glasses: 101, 121, 225
T-shirt: 101, 107, 157, 168, 171, 234
Trousers: 101, 157, 267, 276
Socks: 101, 108, 177, 187
Slippers: 101, 107, 157, 168, 171, 175, 177
Mug: 101, 121, 177, 187, 190, 199, 232, 234
Sparkle: 101, 112, White Gel Pen, White Paint Pen.
Hope this post was fun and informative! I wanted to share with you the step by step process I used to make it! An easy card, and an easy digi to colour up too! 😀 Why not pop and look at what’s in the Dad Set, see if you are tempted by the great price?
